 |
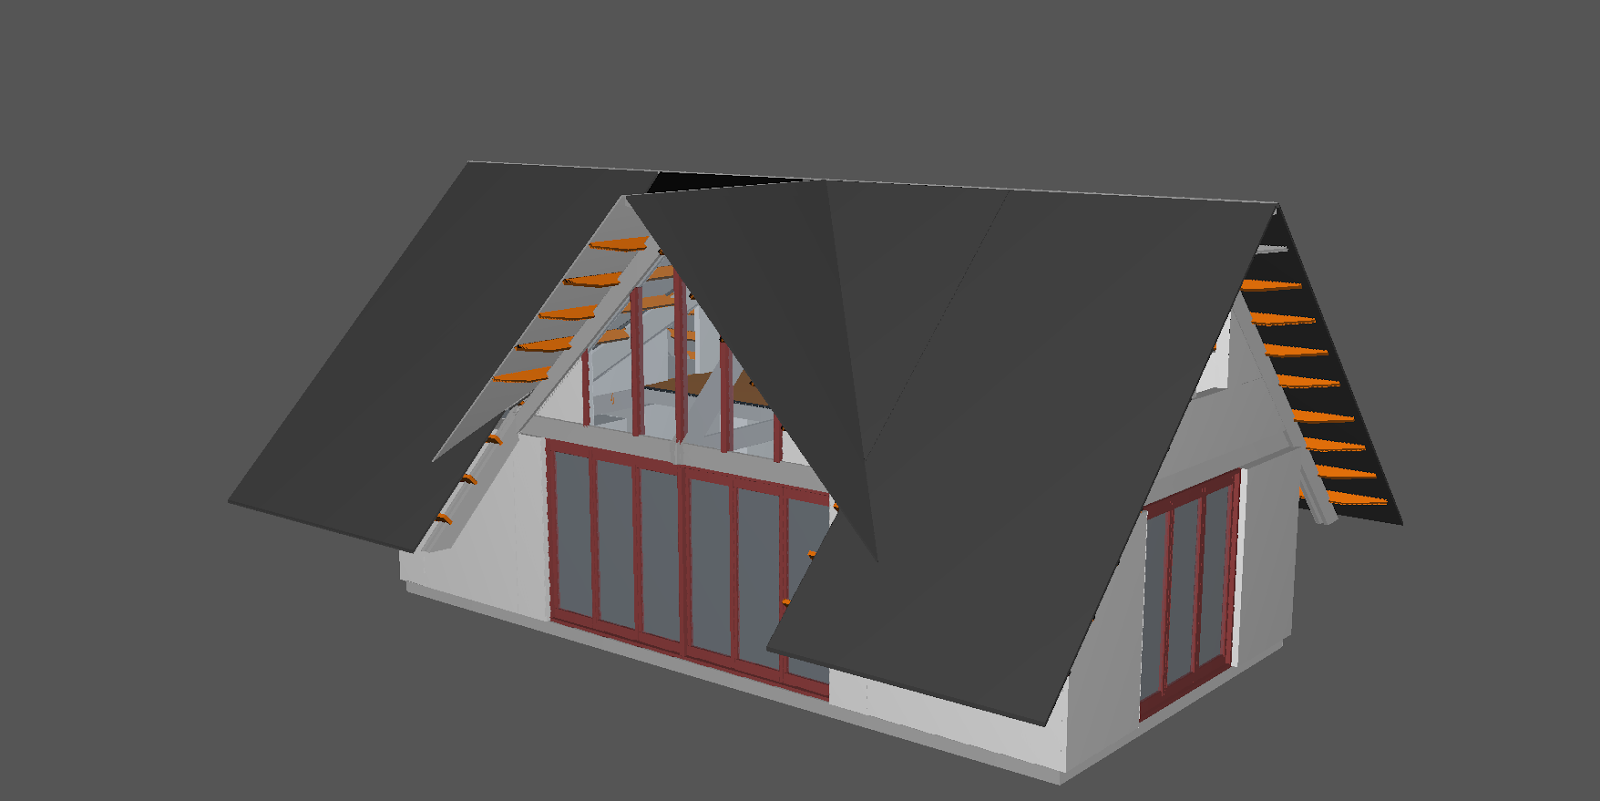
| 'bigbale' sketch |
However, a dwelling with twice the usable volume does not need to consume twice the materials. 'Bigbale' was a design exercise to see how one would build family sized house using what I've learned from the Winter Palace.
Timber from building yards typically comes in up to 4.8 metre (16 feet) lengths; consequently, the tie beams of the Winter Palace are 4.8 metres long. The length of the tie beam dictates the width across the outer faces of the walls. However, longer timbers can be got (and if necessary shorter timbers can be scarfed); the bigbale design presumes trusses on 6 metre (20 foot) tie beams. The front and rear pairs of trusses on the Winter Palace are spaced at 2.4 metres; this seems perfactly adequate and works well.
So if you had five trusses on 6 metre tie beams spaced at 2.4 metres, you'd have a building 9.6 metres by 6 metres; but because bale walls are 0.5 metres thick, the internal size would be 8.6 x 5 metres, or 43 square metres on the ground floor. Upstairs, the width of usable floor is limited by headroom; realistically, you'll lose a metre on each side. But because the big thick bale walls don't continue into the upper story, that's losing a metre on each side of 6 metres, and the floor length is a potential 9.5 metres; so you have 9.5 by 4, or 38 square metres of potentially usable floor upstairs. However, only the central two metres width of that have full standing headroom. Also, you need to allow for a stair well. But still we're looking at a dwelling which is only 20% wider and 25% longer than the Winter Palace. That's 1.5 times as much roof; 1.5 times as much ground floor; actually less than 1.5 times as much wall, if you use as much glass as I'm suggesting; and between 1.25 times and twice as much foundation, depending on how it's laid. There is, undoubtedly, three times as much upper floor. However, overall we're looking at less than twice as much material - so under £10,000 for main build should be plausible.
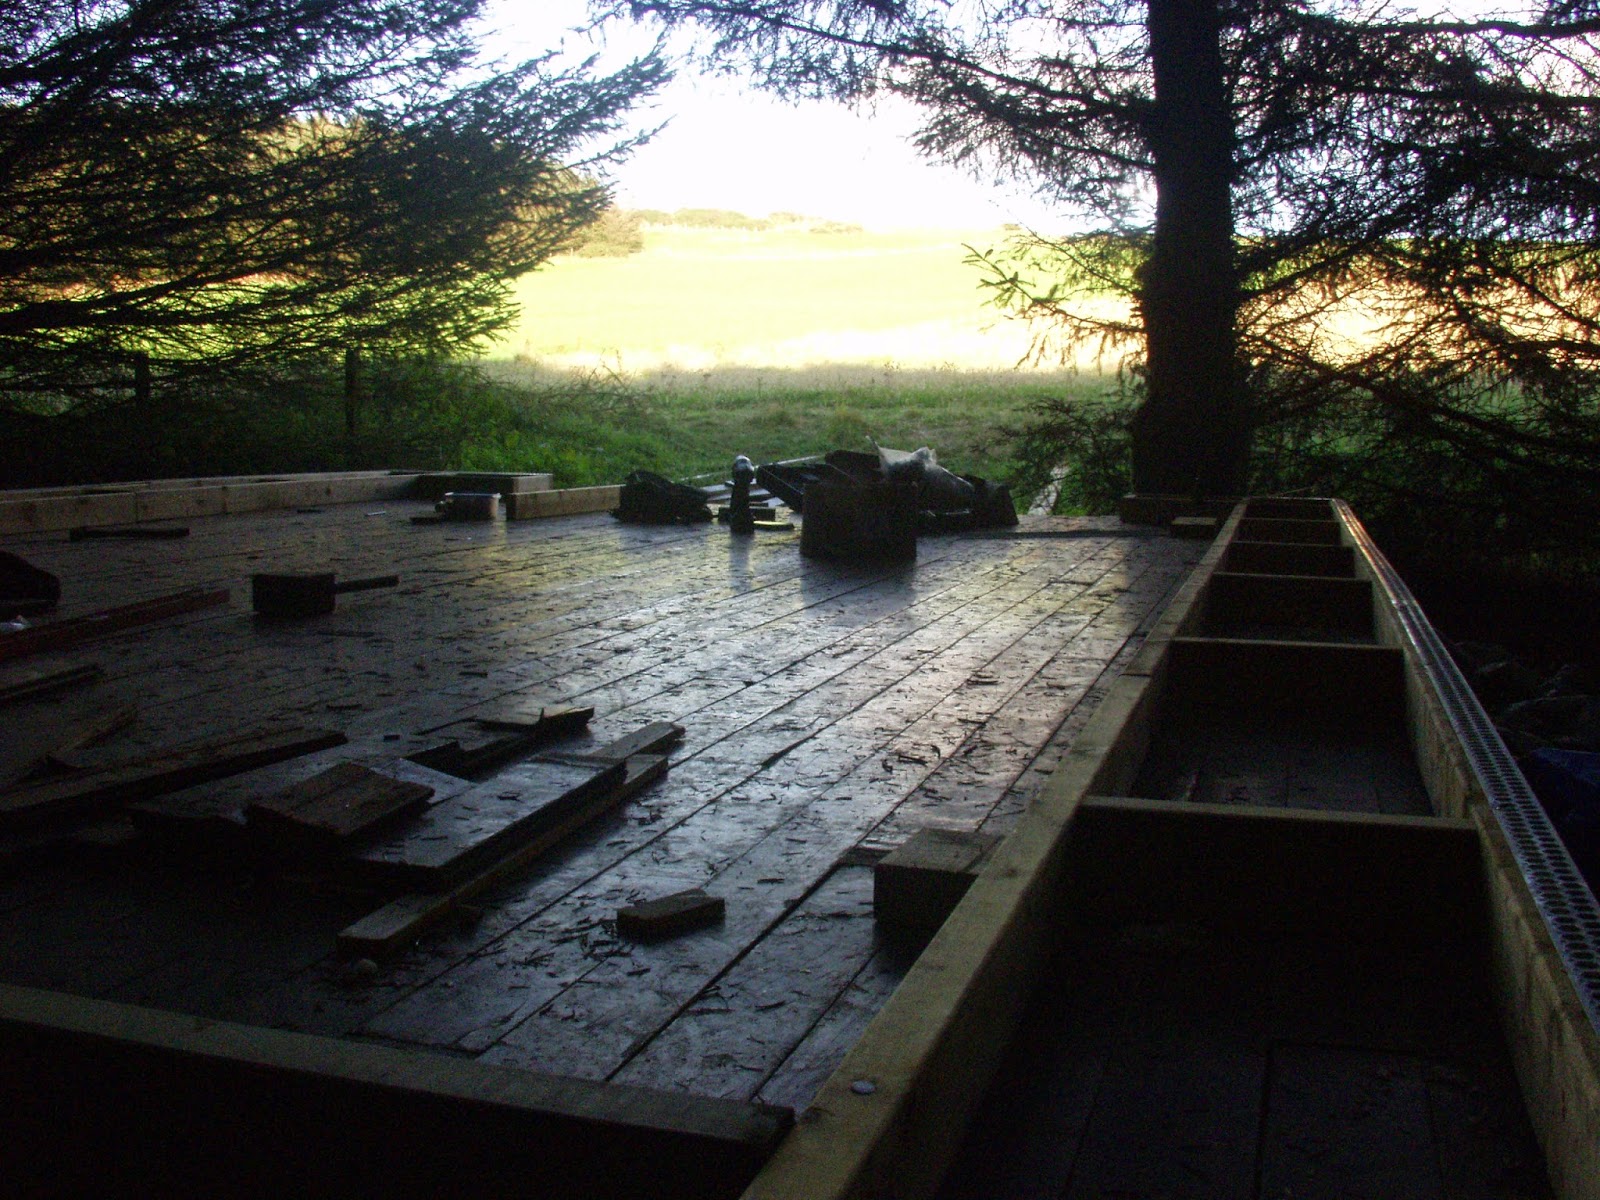
In terms of details of the structure, on a prepared site one either lays ballast or quarry spoil and places rails made of recycled railway sleepers on it as I did, or builds dwarf wall foundations of either poured concrete or concrete blockwork, with a layer of damp-proof material on top of that. Either three or four of these dwarf-walls or sleeper rails will be needed - you could certainly get away with three but would get a significantly less bouncy floor with four. Lay the joists across the foundations, using dwangs between them for spacing and to prevent toppling; put netting under them, stapled to the underside of each one, and lay 150 mm of glass-fibre insulation (or, if you can afford it, treated wool) into the netting. Then lay the floor over the whole lot, including under the walls. It will be easier to bring waste-water pipes out through the floor than through the walls, at least for downstairs plumbing, so do that at this stage.
 |
| Winter Palace: framing the sill plate. Renderstop strip is visible along the outer edge. |
Prepare a 'service plate' and a wall plate. In the Winter Palace, there was no service plate - I installed a plank in the walls at mid height. But it's from experience both of the build and of living in the finished house that I believe a service plate would be a very good thing. Both the wall plate and the service plate are ladder structures identical to the wall plate except faced with oriented strand board on both upper and lower sides, and you should have a matching section of each for each section of sill plate. The Winter Palace has no fireproof barrier between the walls and the roof; its likely your local building regulations will require one. You should consult and work out what exactly you need, but if you can build your fireproof barrier into your wall plate it will save a lot of time. Otherwise you will have to install the fireproof barrier on top of the wall plate, before the roof can be erected, and this is precisely when a bale building is most vulnerable to rain.
Pre install wiring for your primary downstairs ringmain into the service plate; pre install earth cable for connecting up bathroom and kitchen plumbing. Drill through the service plate and wall plate at 450 mm intervals to accept 25mm hazel rods. It's highly likely that you'll have to build both service plate and wall plate in sections, as they'll be much too unwieldy to manhandle fully assembled; make sure you know how the sections will fit together, and, in the case of the service plate, how the electrical connections will be made.
On build day, lay three courses of bales onto the sill plate, nailing them together with 500mm long by 20-25mm thick sharpened hazel stakes. Then lay the service plate on top of these. This will help stabilise the walls. Nail through the plate with more hazel stakes, then lay another three courses on top, again pinning them together with stakes. The wall should now be about 2.5 - 2.6 metres tall. Finally add the wall plate, again fastening it in place with hazel stakes. While building the walls, install wooden framing for wall openings.
Bale walls compress. The weight of the roof compresses them, and I'm advised you should allow for 10% compression although my own walls have compressed less than 2%. You should have no vertical members joining the sill plate to the wall plate, because of the need to allow for compression. This matters most at the framing of openings in the walls. Design your frames to allow the roof structure to move vertically.
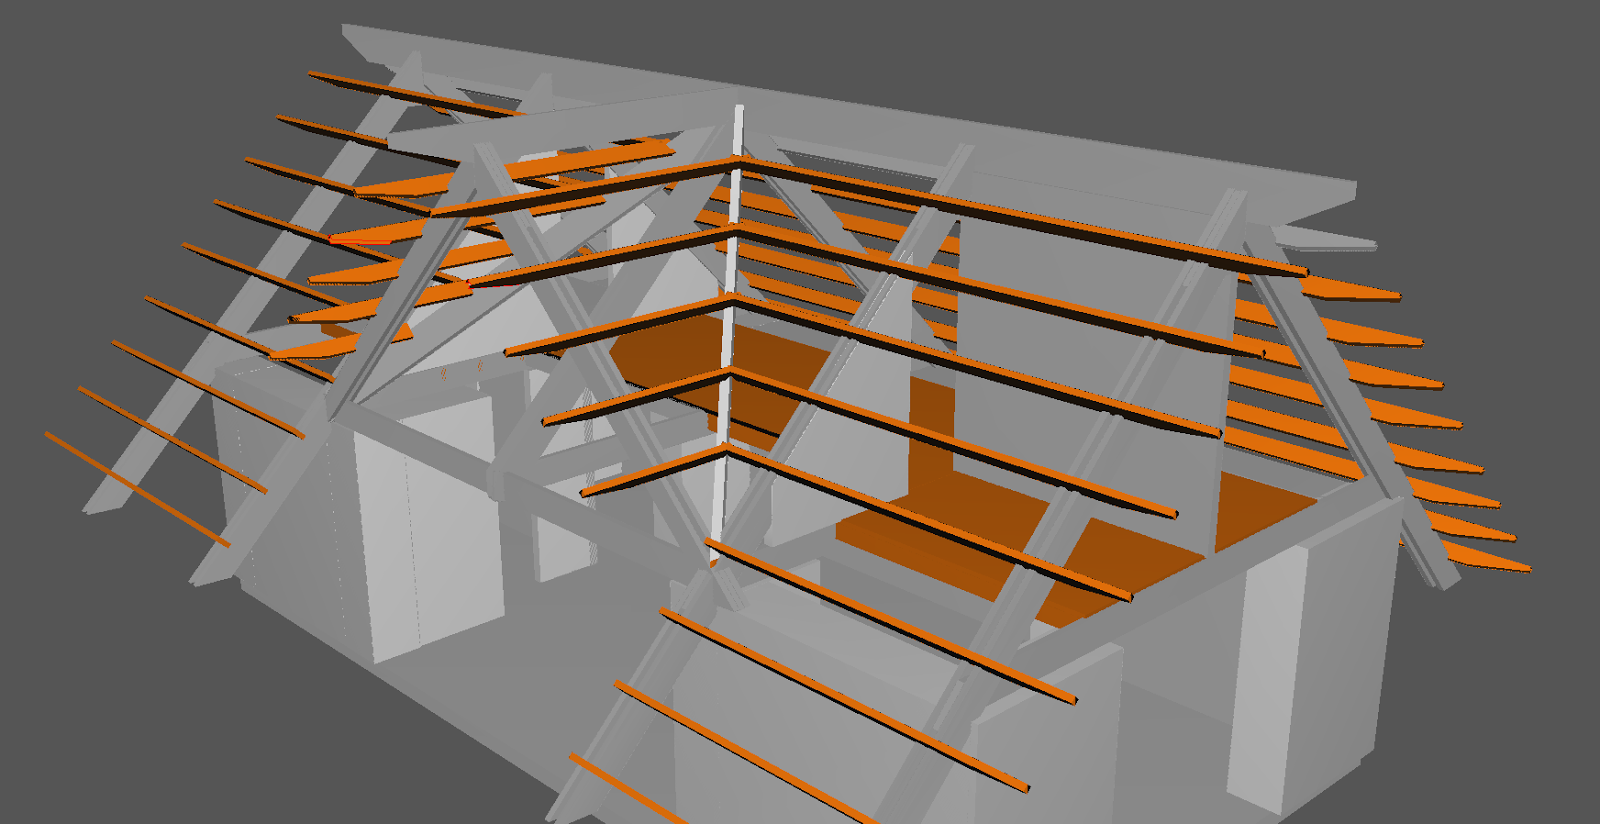 |
| bigbale, roof structure |
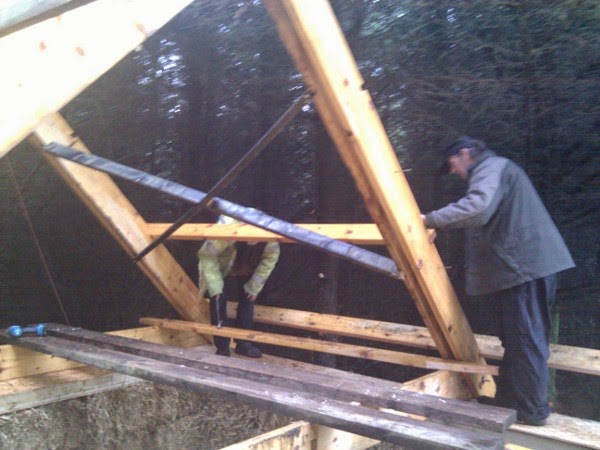 |
| Winter palace, installing the first purlins; braces are clearly visible |
It is very much harder to install insulation into a roof after the cladding is on. However, bale walls are vulnerable to rain until the roof is complete. If I were doing it again I think I'd install the roof
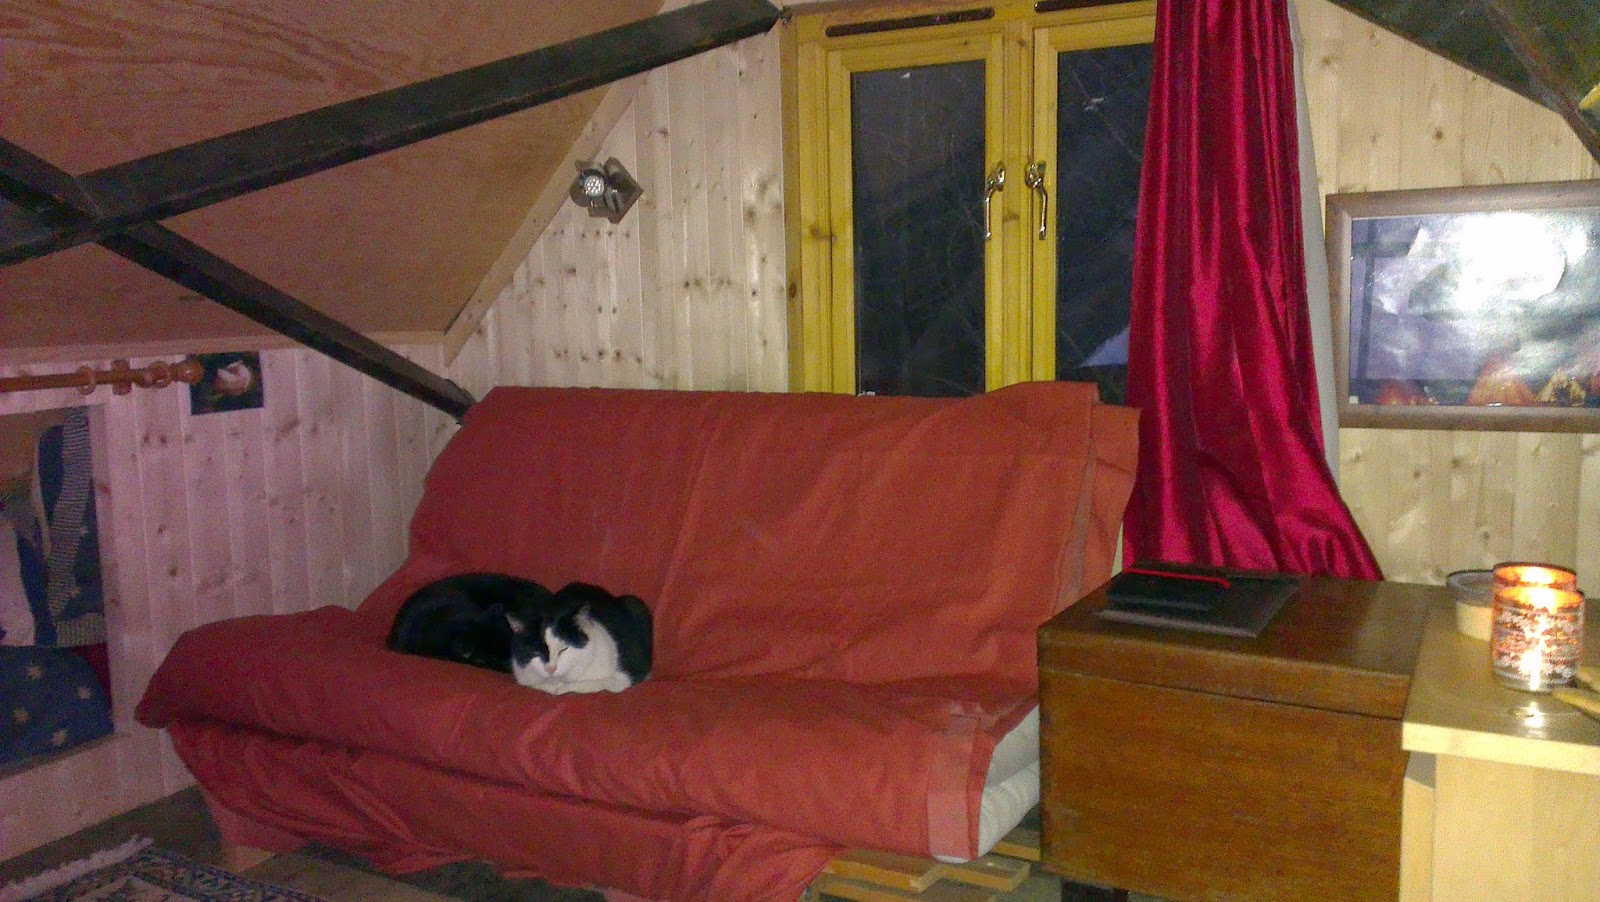 |
| Winter Palace bedroom, showing cross braces. |
Both the Winter Palace and my 'bigbale' sketch have quite exaggerated eaves. Driving rain is not going to be good for bale walls, even when rendered with lime render, so long eaves on the roof keep rain away from the building. Obviously, however, this increases the potential for aerodynamic lift, making anchoring the roof even more important.
Once the roof is clad, apply render to the walls. I used clay, as it was much cheaper than lime render; it's possible but my strong advice would be 'don't'. It's very vulnerable to driven rain, and needs to be applied in three to four coats over a very few days if you are to achieve a crack-free finish which will protect the bales from fire. If a layer of clay dries too much before the next layer is applied, the next layer will not adhere. Short summary: use lime render. I'm told that there are machines you can rent which will spray lime render onto the walls, but the only people I've spoken to with direct experience of it said that it was an extremely messy operation, and that they used far more material than they had budgetted. If I were doing it I would just trowel it on, possibly (as with the clay) in a series of coats.
You are not going to end up with smooth, flat walls, either inside or out. Don't expect to. However, bales can be carved into surprisingly interesting shapes.
Install joists for the upper floor between the trusses. Plank across the joists.
You now have a weatherproof shell of a building that you can move into, and I seriously believe that you could get to this point for £10,000 - assuming you don't pay for any labour. At that point you can move in, and finish gradually as you have the time and money to do it. The big cost - actually, in my 'bigbale' sketch, the biggest cost - is glass. If you can get second hand glazing units, for example from a building being demolished, that could save a lot of money; but if you buy new glazing units as shown in my sketch that will cost somewhere between five and eight thousand in itself. A stove like mine, with chimney, will set you back less than a thousand. Plumbing, wiring, fitting out, probably another thousand (and you will need a qualified electrician to certify your wiring - if you don't have a suitably qualified friend that's another cost).
But the long and the short of it is that a comfortable home, big enough for a family, is something you can build yourself without any very special skills, and something you can reasonably pay for out of money you can reasonably save.

No comments:
Post a Comment